STEP 1
Surface Preparation
To ensure a proper bond, the concrete floor must first be prepared. We use diamond grinders with integrated vacuum systems to ensure a perfectly smooth surface that is free of dust and debris and ready for a fresh coat of Epoxy.
STEP 2
Basecoat
The first coat of self-priming polyurea epoxy is applied that serves to bond the paint securely to the floor, ensuring that it won’t ever peel up, even if it is exposed to intense pressure, drastic temperature changes, or even corrosive chemicals.
STEP 3
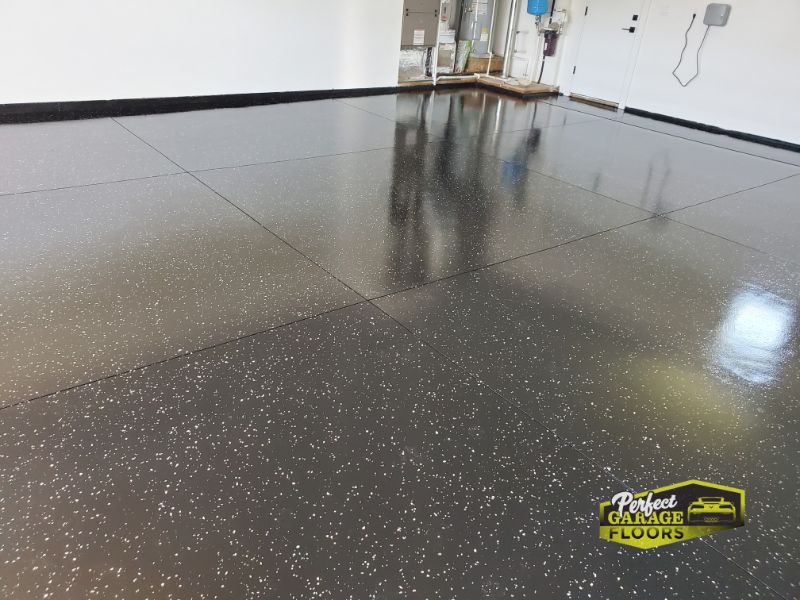
Broadcasting the Flakes
Immediately after the base coat is applied, we scatter multi-colored vinyl flakes across the floor by hand to provide texture to the floor and design a beautiful mosaic. We specialize in offering endless color combinations so you can create the perfect look for your concrete floor.
STEP 4
Clear Coat
This final clear coat layer of polyaspartic epoxy, serves as an Industrial grade barrier to protect the floor against wear and tear, such as scuffs, sharp impacts, and chemical spills. Once this application has been applied, it is fully cured, then it’s ready for minor foot traffic within 4-6 hours and can return to full use within a day.
Benefits of Epoxy Flooring
- All around protection for your concrete floor. You’ll never have to worry about having a stained, cracked, or pitted floor!
- A huge variety of styles and color options. You can match the floor with your existing decor, taste, and storage system!
- Easy clean up. You won’t have to use harsh chemicals or much energy getting your floor nice and clean! Simple soap and water will be all you need.
- A non-slip surface. You’ll be as sure footed as a mountain goat in every area of your garage!
- Industrial-quality material. You can rest assured your floor will stand the test of time!
- A great look! No more plain gray or ugly stained floor.